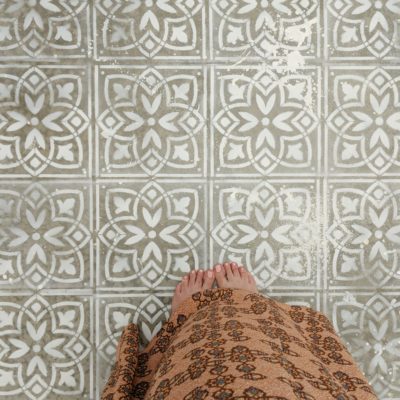
When we first moved into our house 3 years ago, I couldn’t believe the size of our laundry room – It was so spacious! In fact, it was almost too big; I had no idea what to do with it. At first, it was a catch-all storage room with bad lighting. It took a couple…
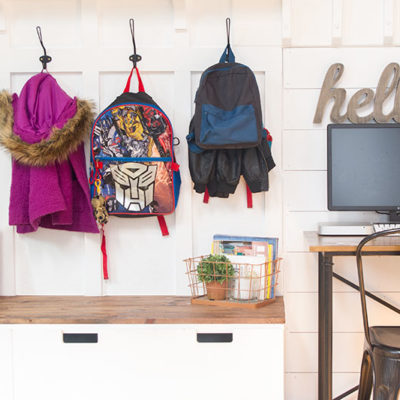
When we moved into our home 3 years ago, one of the first things we did was build a mudroom bench by the front door. With a family of 5 and seasonal weather, we knew we needed a place for shoes, hats, jackets, gloves, scarves and backpacks. I hacked some IKEA benches and created the…
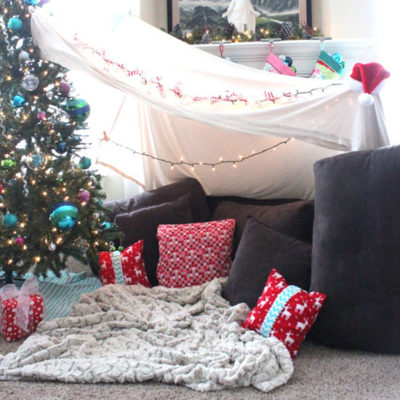
As the holidays approach and we make our way through our Christmas Advent calendar, I see the kids eyes light up each night just hoping there is a “fun” card inside the envelope. Along with bible verses relating to the Christmas story, I also have some fun activities planned that I stuff in a few…
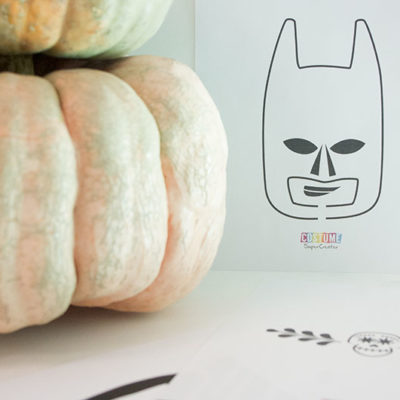
I don’t generally get dressed up for Halloween. I mean, after all the blood, sweat and tears that I spend on creating costumes for my 3 kids each year, I’d rather just admire my hard work on them instead of worrying about myself… not to mention, there is rarely time to think about what I’m…
Oh, pumpkin carving. I avoided it for SO many years. When the kids were young, I convinced them that painting or coloring their pumpkins would be SUPER FUN. And it totally worked (see here)… for a while. Now that they are older, we have started actually carving our pumpkins like normal people. My husband loathes this activity.…
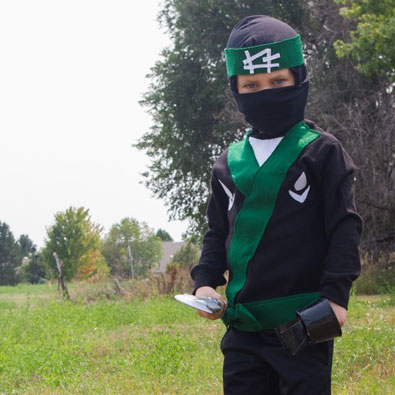
I’m guessing if you’ve got an elementary-aged boy in your home you know ALL about NINJAGO. And you probably also know that there is LEGO NINJAGO movie coming out September 22nd. A movie which, if I’m being honest, I have no problems going to see with my five year old. I took him to see…
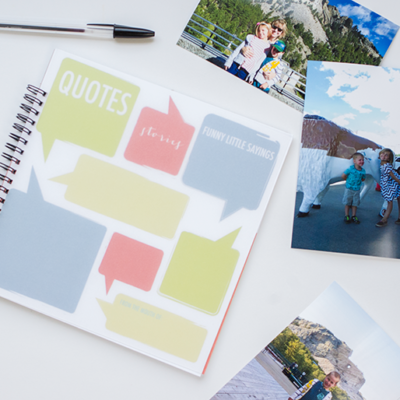
Yesterday I launched a new product in my shop that I’ve been working on for a while, and I’m calling it “Letters to Grandma & Grandpa.” Have you got grandparents near or far who love updates from your family and kids (or a parent deployed, or godparents who feel out of the loop, or aunts/uncles…
We’ve already had quite a few adventures this summer, partly because my kids were done with school in mid-May – but we also just happened to plan a lot of summer activities for the first full month of summer. After a quick visit to our house from Grammy & Papa (who live in California), we all…
Each summer I throw a joint birthday party for my boys. Two years ago it was pirate-themed, last year it was all about superheros and this year I wanted something really simple just because of how busy we were going to be at the time. So, naturally, I decided on donuts. Because, what sane person…
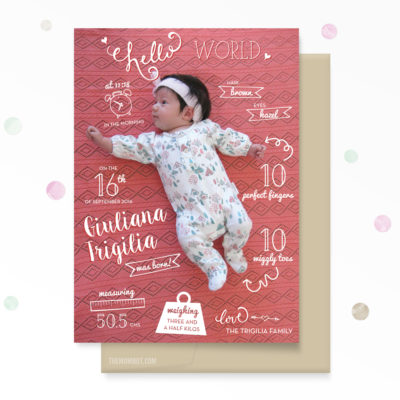
Every once in a while, I get an order for a birth announcement in my shop and I gasp when I see the photo. Man, babies are CUTE. And I love seeing the talent of newborn photographers. This was the case with sweet little Giuliana’s photo. Her mom chose my “Hello World” birth announcement, which…